
You must be using different forms on your WordPress website. Creating forms in WordPress is damn easy stuff, I’ve already published a bunch of articles on different Forms in WordPress.
But, Do you want to allow your user to upload a file along with the form?
I mean creating a File Upload Form in WordPress. In this guide, I’ll be helping you with creating a form with a File Option feature with WPForms.
When it comes to creating a form in WordPress. I always recommend WPForms. They have got everything you need to create a perfect form in WordPress.
WPForms announced a new addon ” File Upload Addon” that will let users upload various files in the form. Your user can upload images, docs and pdf files to your website if you’ll use this amazing addon.
Table of Contents
Why You Need A File Upload Feature?
Adding a file upload feature to your WordPress form will let you collect more data easily. You can get some extra data from your website visitors or customers if you have this feature enabled on your WordPress website. We know if the form is easy to fill, it reduce form abandonment as well.
There are various cases in which you need a file upload feature like:
- Collecting documents from your employees and user
- Getting content from your editorial team
- Customer support forms along with files
- Student portals/Job Portals need a file upload feature
How To Create A File Upload Form?
First of all, You need to install and activate the WPForms Form Builder on your WordPress website. File Upload Addon is a Pro feature of WPForms, so you need to get their WPForms Pro License. You can get one at a discounted rate from below
Activate the plugin by putting the license key into your Plugin settings.
Step 1: Create A New Form
Just go to WPForms >> Add New >> Choose A Template
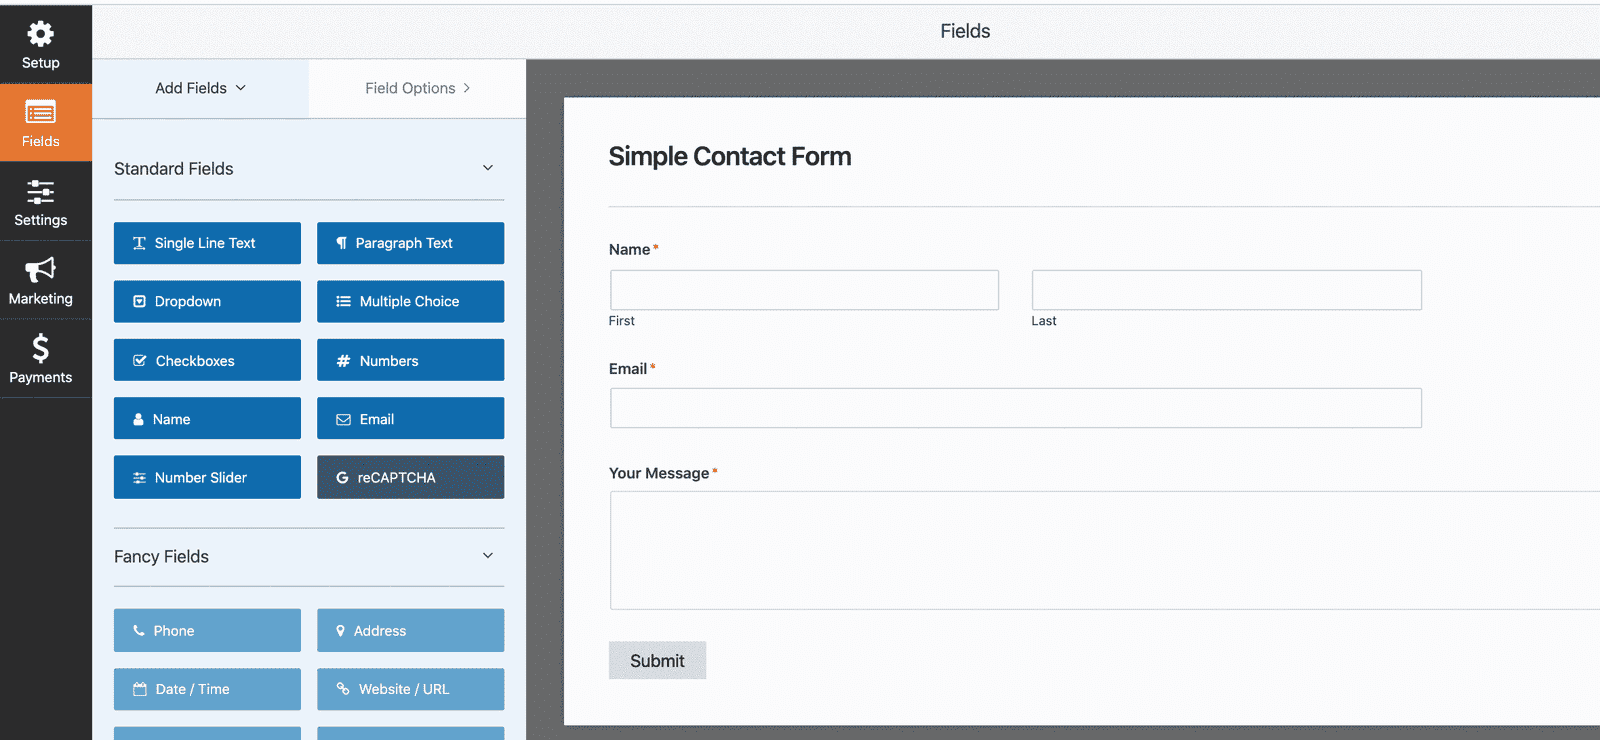
I’ve selected a simple contact form.
Now you can customize the form fields by dragging the fields from the sidebar to the form. WPForms offers a very easy drag and drop form builder option. You can customize the whole form as per your requirements.
Step 2: Adding The File Upload Feature
You’ve created a form and now you need a File Upload Feature.
You can easily drag and drop the File Upload field from the sidebar just like explained below.
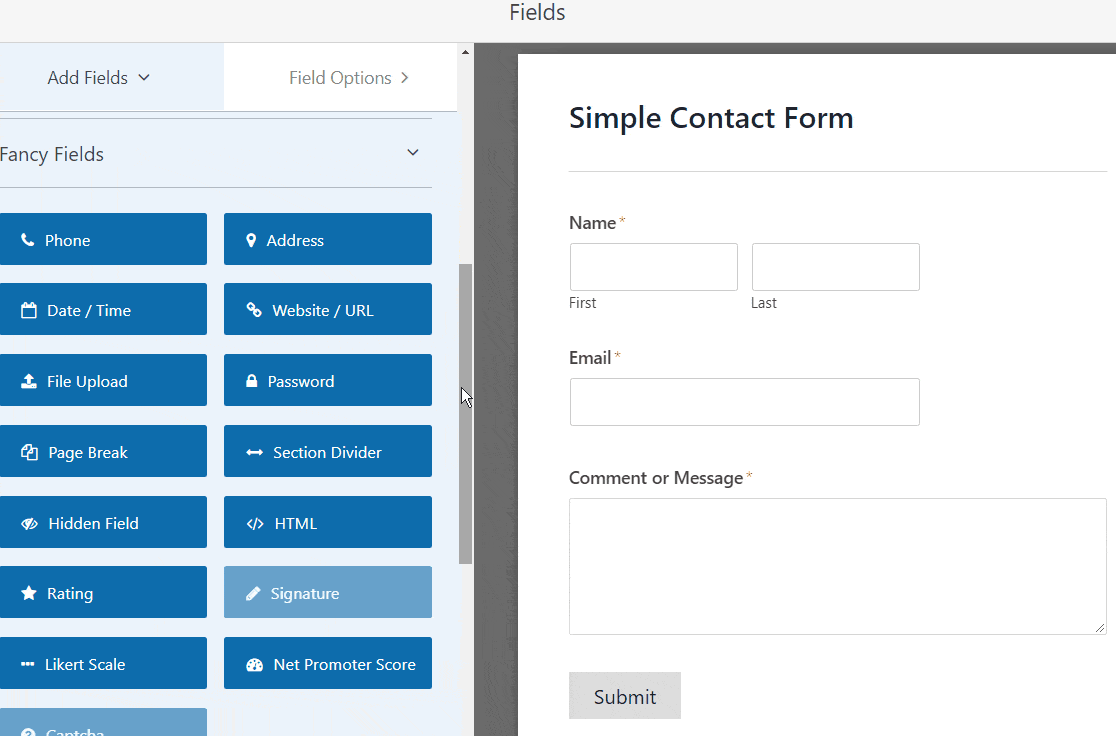
The File Upload field also lets you add some more data to the field like the file extensions allowed, what they need to upload and the allowed file size.
You can also add the following information:
- Label
- Description
- Allowed File Extensions
- Maximum File Size
- Required
- Style
Step 3: Configuring File Upload Settings
You need to configure the file upload settings to make sure that your forms will work smoothly.
Go to Field Options and then select the Store file in WordPress Media Library.
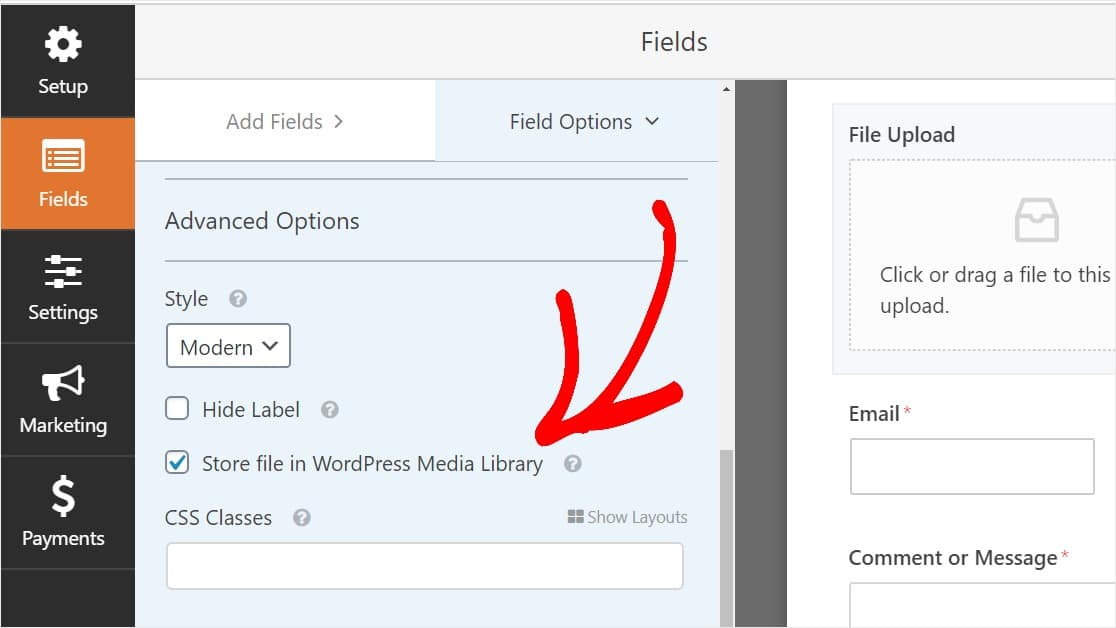
This will store all the files uploaded through the form to your WordPress media library.
You can also customize the following field settings by going to Settings:
- Form Name
- Form Description
- Submit Button Text
- Spam Prevention
- GDPR Enhancements
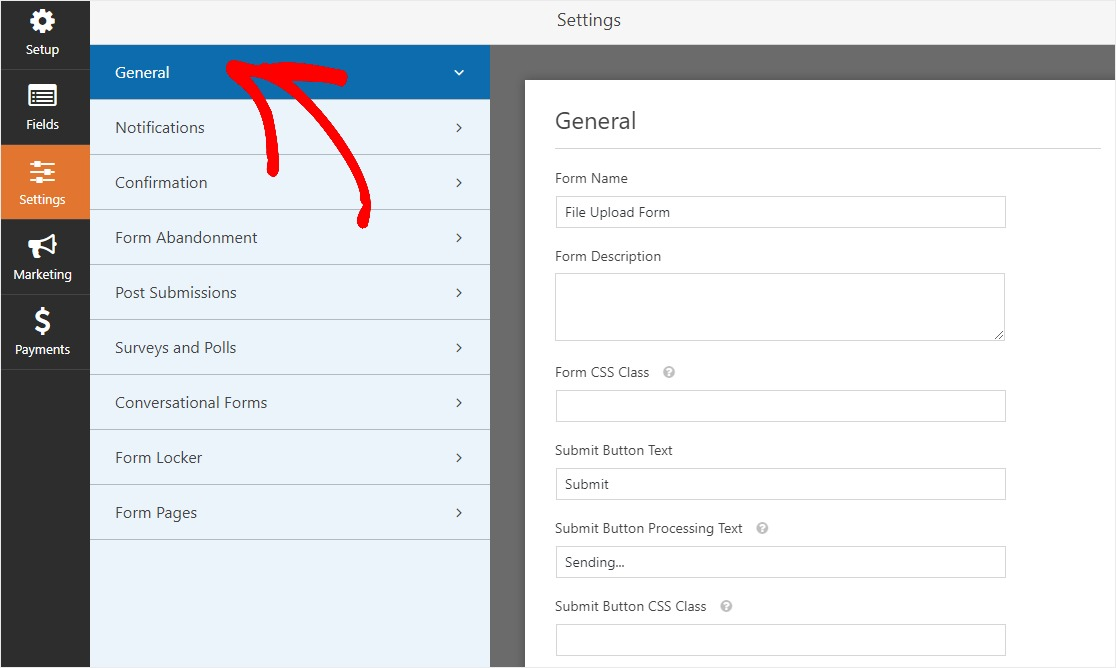
After configuring everything hit the Save button.
Step 4: Set Up Form Notification & Confirmation
After configuring everything, You have to configure the Form Notification & Confirmation settings. This will let you get a notification every time a user fills up the form on your website.
The user will also get a confirmation message that their form is successfully submitted.
To Configure Form Notifications
Go to Settings>> Notification
To Configure Confirmation Settings
Go to Settings>> Confirmation
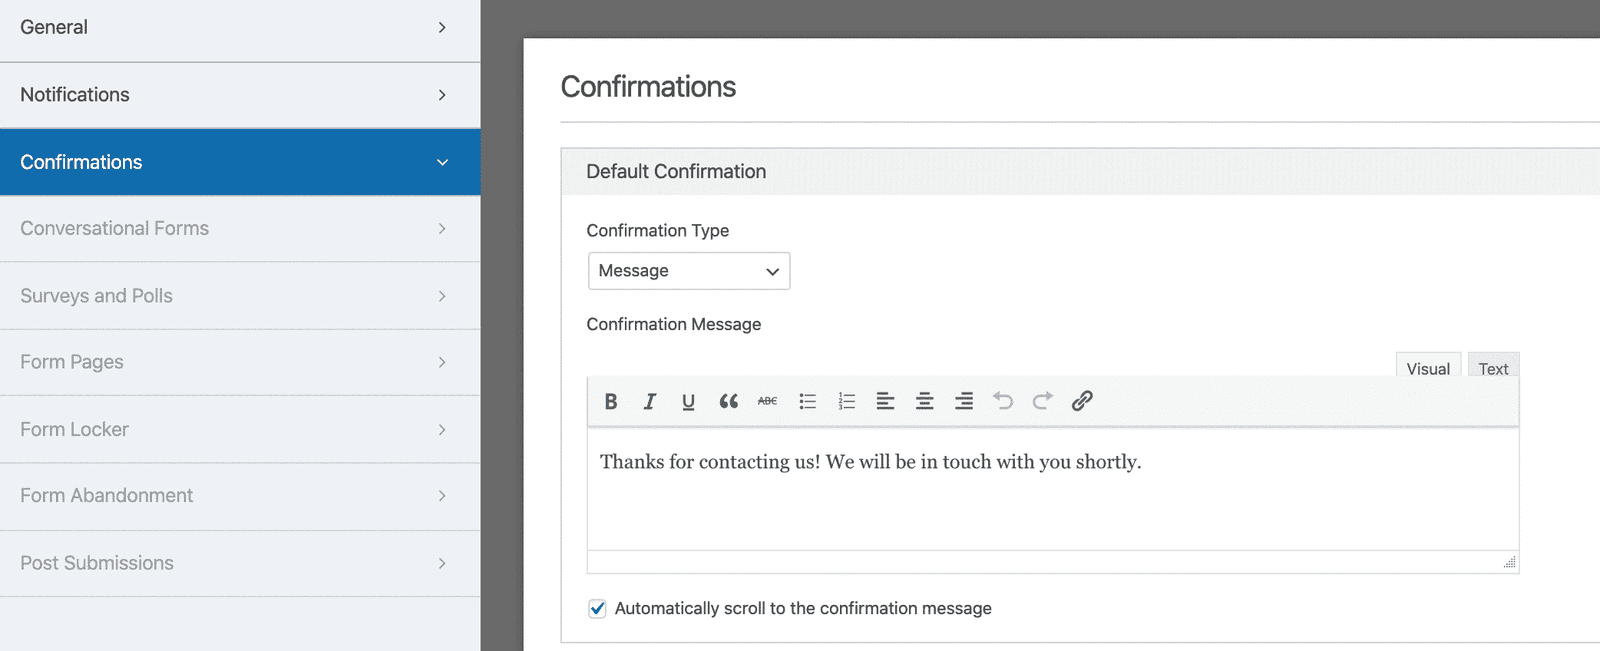
You can set up a custom message to your users so that when they submit the form they’ll get your confirmation message.
Step 5: Adding The Form To Your Website
Everything is done, You just need to add the form to your WordPress page. You can copy the embed code and paste it directly on your WordPress page.
You can also add a block to your page if you’re using Gutenberg.
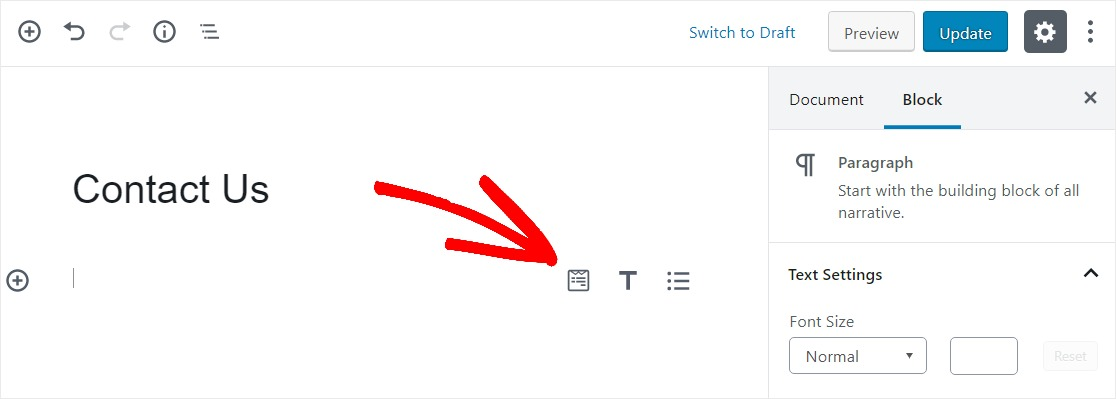
Add the form and update the page to see your file upload form live on your website.
How To Access The Uploaded Files?
You can go to WPForms>> Entries to see all the form entries you’ve received.
Select the Form from the upper left corner and you’ll get a list of entries to the File Upload Form.
Click on View if you want to see it in your browser or right-click to download.
Wrapping Up
Creating a file upload form with WPForms is very easy and I tried explaining the whole process by breaking it into simple steps. I hope you’ve created your file upload form by now.
Do let me know in the comment if you have any issues.


